


I had a small piece of cross-stitch that I received in the Matchbox Swap on Craftster.org earlier this year (thanks, cadet120433!). I decided to place it on top of two other fabrics, sort of like the mat and frame of a picture.


To make sure the embellishment would be centered, I measured 3 inches from the end of both long sides and placed pins there (the 3 inch section will be folded under and sewn in place to form pockets for the book covers to slide into). Then I folded the fabric in half along the long edges to find the center, and I marked that with a pin too.
***And now a correction***
I neglected to take into account the width of the "spine" of the composition book; when I marked the center of the fabric with a pin, I should actually have moved it 1/4 inch to the right, to allow for this. In the finished picture at the bottom of this tutorial you will notice that my "framed" cross-stitch section is actually off-center. Learn from my mistake!!
***Back to the tutorial***
In this picture (above) you can see that I used my clear rulers to mark off the area that will be on the front of the journal cover. After sewing down the polka-dot ribbon, I carefully centered the "framed" cross-stitch and first ironed it in place (remember, it's got Heat n Bond on the back), then I sewed along all the edges. (You don't have to sew when you use Heat n Bond, but I wanted the stitches to show.)

I sewed everything right through both fabrics; yes, the stitches show on the underside, but you will only see that part of the journal cover when you take it off the composition book, so it really doesn't matter.

You may have already done this when you embellished the front: with the lining side up, measure 3 inches in from each end and place pins to mark the spot. Fold the fabric over so you have a 3 inch flap. Press.
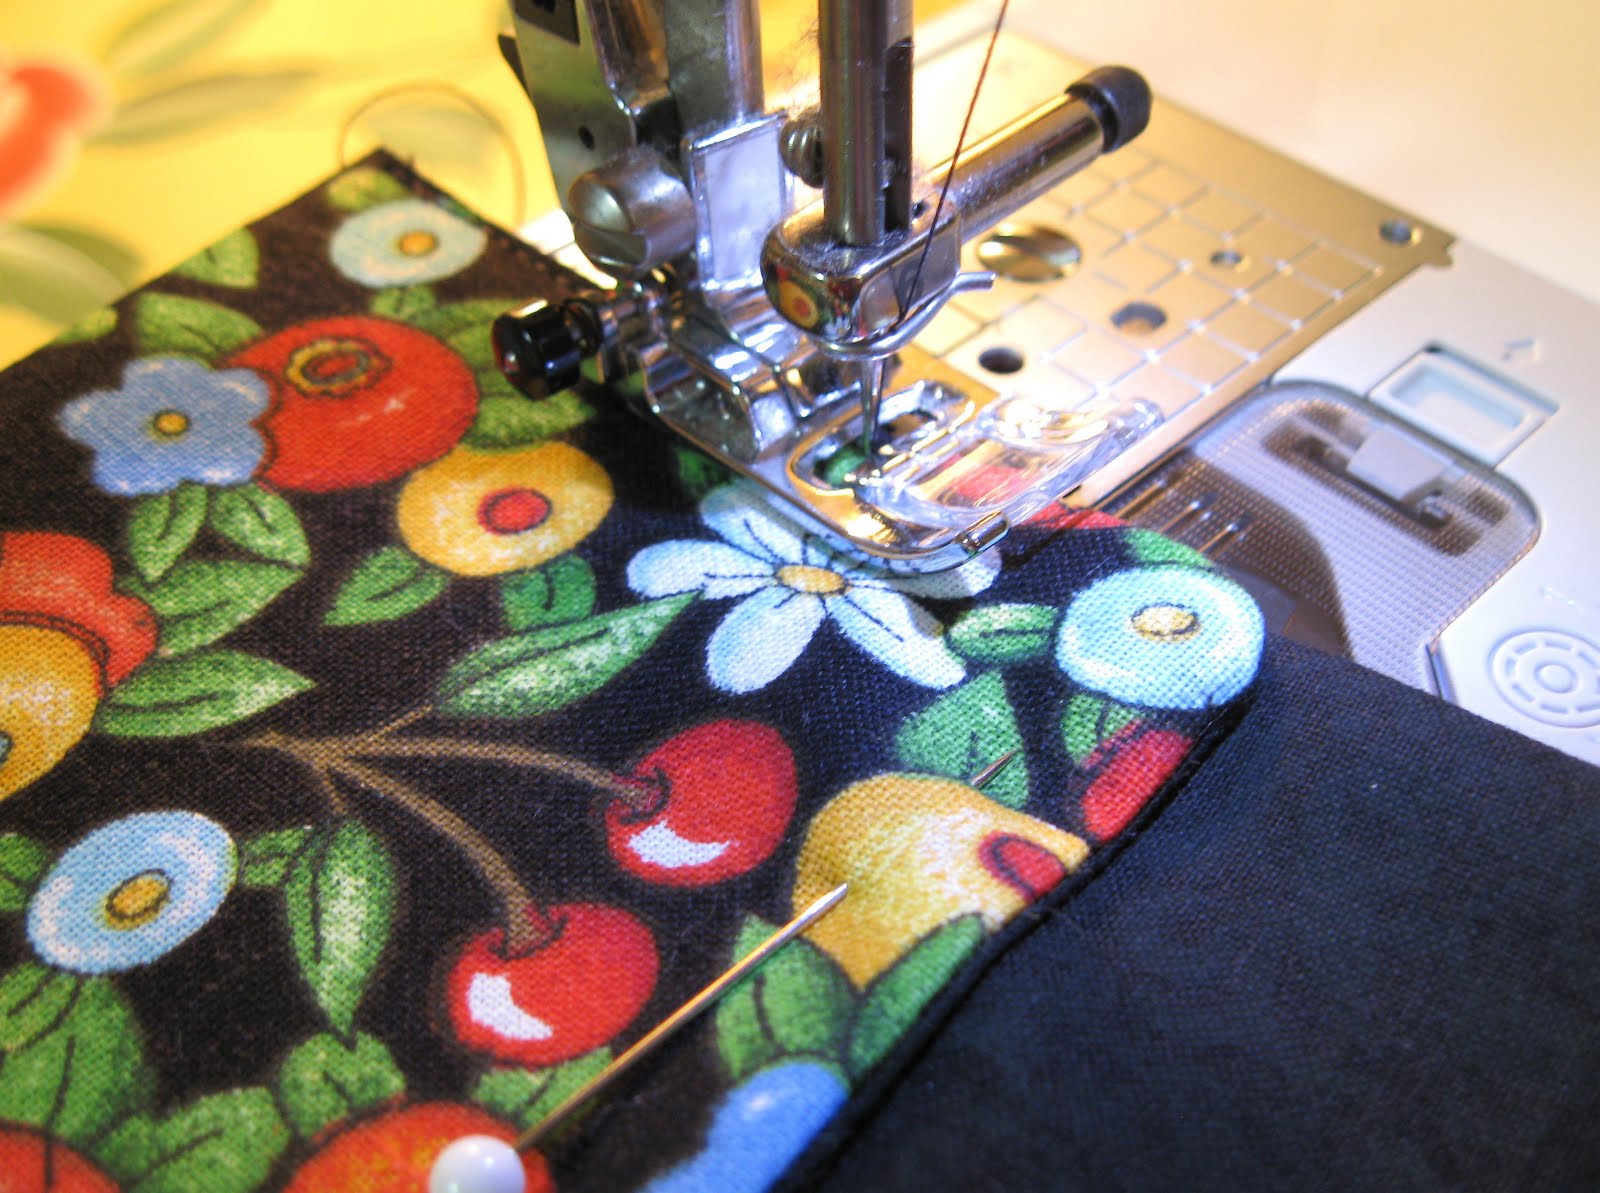
Secure the flaps in place by sewing very close to the edge (using not more than a 1/8 inch seam), on both the top and bottom. You don't need to sew along the entire top and bottom edges; just sew to the end of the flap and backstitch a few stitches.
You are finished sewing!! You will have to bend the compostition book covers back so they are almost touching to slip the cover on. Cross your fingers that it fits!! (If the fit is too loose or too snug, just take out the stitching on the back flap; re-press the flap so it is either 1/4 inch smaller (to make the cover looser) or 1/4 inch larger (to make the cover tighter) and re-sew.

Here's my finished journal cover--I love it! (Except for the slightly off-center decoration...)
3 comments:
I can't wait for this swap--so glad it's coming sooooon!
Thanks for the early tutorial, Leslie. The pics are great--you know, I REALLY lean on pictures to take me through a project. (I appreciate the close up Heat N Bond picture! You leave no possible question unanswered).
Ready to make a journal cover for somebody...who will it be?
: )
Me encanto que hermoso el trabajo que haces, en verdad que es muy hermoso, me encanto como decoraste la libreta... simplemente hermoso!! ^.^
Really great tutorial! I'm going to have to seriously think about joining this swap :)
Post a Comment