Showing posts with label Master Craftsters. Show all posts

Friday, June 1, 2012

Zippered Tote Test

I have a couple of new things I'm working on right now, but neither is quite ready to blog about, so today I will share another one of the articles I wrote about the Bernina 380 for the Master Craftsters series on Craftster.   Rather than being a tutorial, this one is a recounting of my initial experience with , and reaction to, the Bernina 380 I had on loan for this series.  I really love this sewing machine, and I think it shows in this post!


Zippered Tote Test using the BERNINA 380
I decided to test the BERNINA 380 on the project I know best: a zippered purse that I designed a number of years ago. I've made a ton of them since then, so I could really compare this sewing machine to the one I've been using. I also got to try several new features of the machine and a new stitch.


Here, I've chosen and prepared all my fabrics: the front panel with horses, two horse pockets (one inside and one outside), canvas for the back and bottom of the bag, and a lining fabric.


Before I tried the BERNINA 380, I read that it has a presser foot lifter that you operate with your knee--of all the features on this machine, the "knee lifter" is my favorite thing!! As I sewed the lining onto the pocket fabric, at each corner I used the knee lifter to make the turn, so I never had to take my hands off the fabric. In the picture below, I am actually lifting the presser foot with my knee! Awesome! It did take some getting used to though, rather like learning to drive a stick shift, because you operate the knee lifter and the foot pedal with the same leg. (Yes, many times I lifted the presser foot when I meant to start sewing the seam!)


I reinforced the seams of the bag with a zigzag stitch. The computerized stitch selector is very easy to use, and going back and forth between the straight stitch and the zigzag stitch required only one push of a button. Amazingly, this BERNINA remembered the settings of the previous stitch as I had adjusted them (length, width, and needle position) and returned to my settings when I returned to that stitch! I love that!


It was when I was almost done with the bag, and turned it right-side-out for topstitching, that the true test began. The first question was: does this machine have good clearance under the sewing arm? The answer is YES! The bag easily slid under the arm and was easy to maneuver as I sewed.


The next and biggest question was, would this machine sew over the thick side seams easily, without skipping stitches? (My other machine always skips stitches in that area, which drives me crazy!) I held my breath as the side seam came closer and closer to the needle, and... YES! Bernie (as I call her now) did it! She sewed the seam evenly, without hesitation, and without skipping a stitch! Honestly, I almost felt like crying with happiness! The BERNINA 380 passed my toughest test.


It worked so well on the first bag that I made a few more!

Saturday, May 26, 2012

Fun Pillowcase Tutorial

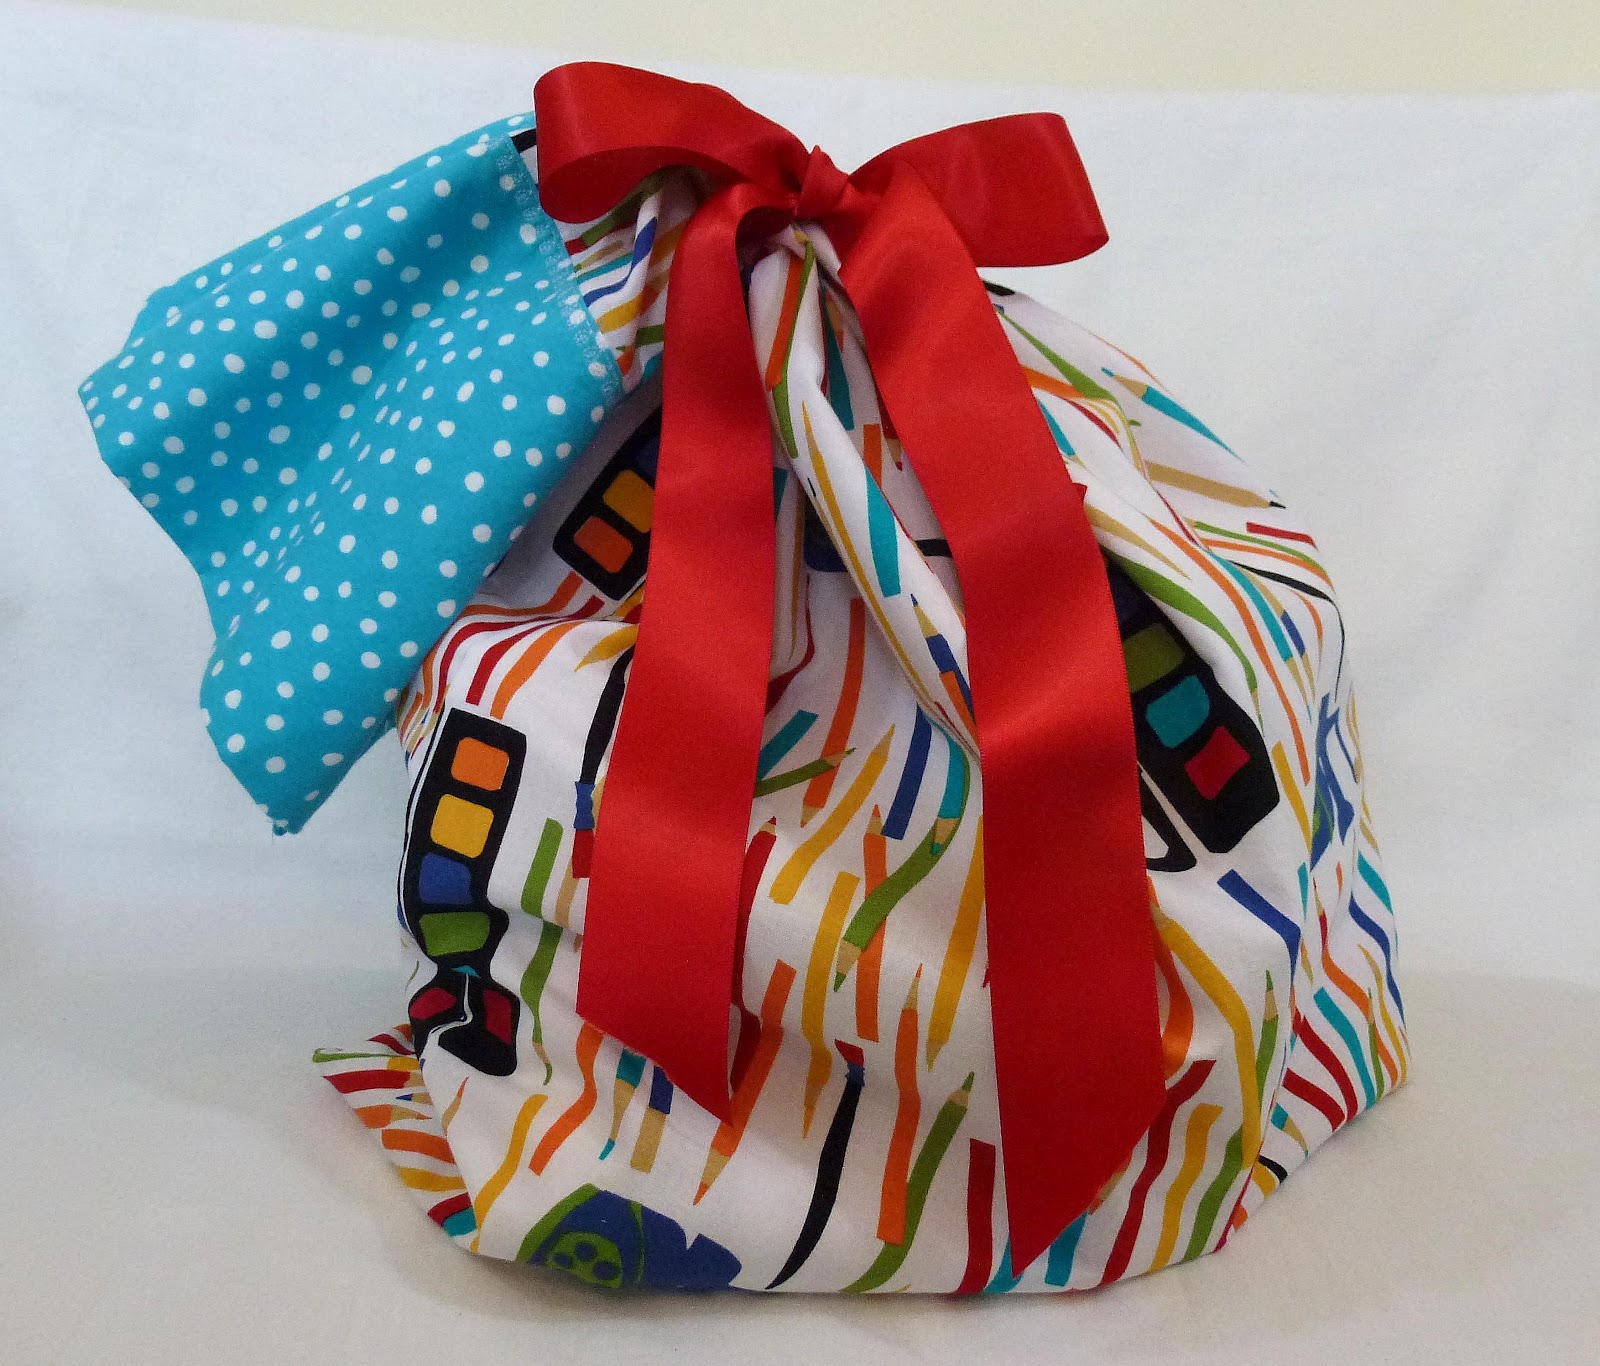
This is another of the projects I made for the Bernina Master Craftsters campaign I was involved in on Craftster.  I started making pillowcases last year for my daughter (she loves them and can't get enough!)  They are fairly quick and easy to make, so I'm always on the lookout for fabrics she might like.  I made this one with her in mind--she is an art student, so the colored pencils and paint boxes were perfect for her!  I actually used it as a gift bag for her other birthday gifts this year:


Here's the tutorial--enjoy!!

Fun Pillowcase using the BERNINA 380


A pillowcase made of special fabrics can be a great gift, especially for kids and teenagers. Who cares if it doesn't match the sheets? Pillowcases are fun!

I made this pillowcase with French seams and a double layer of the blue fabric, so all the seams are enclosed, and it has a nice substantial feel.


Here's how to make it: start by washing and ironing your fabric. Then, cut two pieces of the main fabric 24" x 21", and two pieces of the contrast fabric 13" x 21". Using a 1/4" seam, sew one piece of contrast fabric onto one end of each of the main fabric pieces, as in the picture above.


Next, iron under about 1/4" of the contrast fabric, then fold it down to cover the seam, as in the picture above. Pin the fabric in place over the seam, and iron the top edge of the contrast fabric.


At this point you could just sew a straight stitch near the lower edge of the contrast fabric to hold it in place, but I wanted to try out a decorative stitch on my BERNINA 380. I had 115 stitches to choose from!! After much deliberation, I finally decided on number 79, a row of hearts; I entered the stitch into the machine, and you can see the number on the display in the picture above.


Once the number was displayed on the screen, all I had to do was step on the pedal and guide the fabric. Easy!


The row of hearts looks equally good on the front and the back of the fabric (that's the front on the left, and the back on the right.) Next time I will use a different thread color so there is more contrast.


Now, to sew the French seams, layer the two pieces of the pillowcase WRONG sides together. (It seems so wrong, but it is so right!!) Using a 1/4" seam allowance, sew around the three raw edges of the pillowcase.


Then turn the pillowcase inside out and press the seams flat. Using a 3/8" seam, sew along the three sides you just sewed. This will enclose your seams.


Turn the pillowcase right-side out and press. Ta-da! It looks so professional! It's ready for gift-giving!